
I’ve not held back my disdain for my kitchen. Don’t get me wrong, it’s a great space, but it’s just not me.
The wall colour (which I admit to picking) has grown old, the counter tops and floors (in my opinion) are not ugly, but certainly not pretty and the island… it’s a junk collector.
Replacing cabinets and flooring and restructuring the inside of the island are all long-term projects. For now, I’m talking about taking back my kitchen in a simple way – installing a peel-and-stick faux-subway tile backsplash.
Now I’m sure nothing beats the real subway tile backsplash. And if I could have afforded it and installed it myself, I may have given it a go. But knowing that it wasn’t in the budget to pay hundreds extra in service fees, I decided to tackle the project myself.
After watching a couple dozen videos on simple kitchen renos – most of which included peel and stick tile - I felt like it was something I could do on my own.
I found a faux subway tile I liked at a local store and the next time I was in town with my partner, I asked what he thought of me changing up the kitchen. With his OK, I bought about eight packs of 8-sheets of the faux tile, at about $55 to $58 dollars a pack.
The next Saturday, I was ready to spend my day with my kitchen re-do.
Now, make sure you have a self-healing cutting mat or an old cutting board you don’t mind scoring up because you will need to cut the sheets to size depending on the space. Make sure you have a straight edge or a ruler that can sit flush against the tiles and a sharp utility/exacto knife.
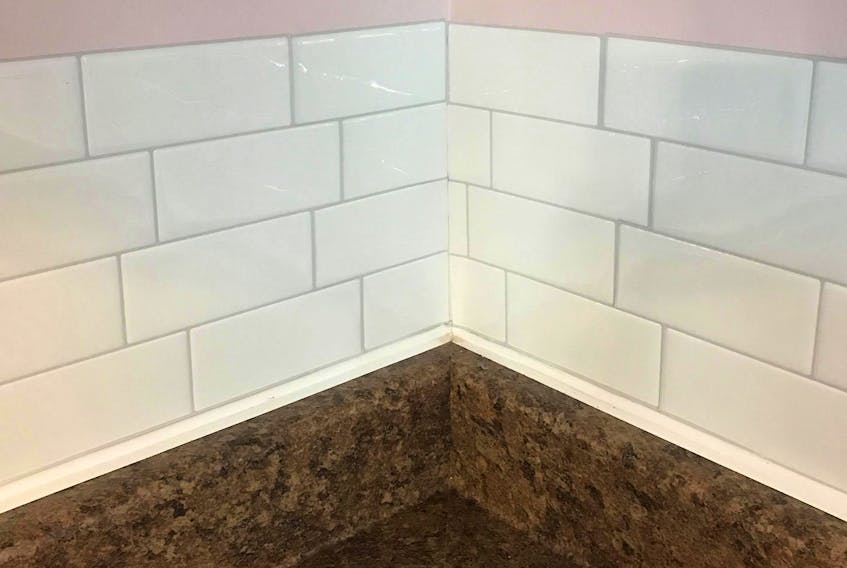
I started the installation in a corner of the wall. Looking back, I should have started it in the middle of a wall and worked my way from there (which I’m pretty sure is the proper way to do it). These sheets are super easy to apply; you literally peel off the backing, stick it on the wall and press it down. What helps is one side had a thicker boarder the product directions instructs you to overlap – it’s pretty self-explanatory, which is really nice.
Once I got the first part finished, I had to decide if I wanted to take the tile all the way to the bottom of the cabinets or just leave as half-way up that space. I chose the former. Because I couldn’t fit a full sheet under the cabinet a second time, I had to cut the sheet in half. I made sure the side with the cut was the one that went right under the cabinets as it would be harder to see.
Apart from one area where I’m pretty sure the wall slopes (and I’m not just saying that – no matter what I did I couldn’t get the tiles to line up straight), I’m thrilled with the way it turned out.
From my living room, I can see my kitchen, and I love looking at my kitchen (because of the backsplash). I’ve always liked that country farmhouse/rustic vibe in a kitchen and the subway tile only adds to the coziness of those themes.
I will warn you, while they say they are removable, the tiles will peel off paint and top layer of drywall if the removal is done hastily. That may be a “no thank you” for some, but I don’t plan on take that tile down EVER).
Now, homebodies, what should my next not-quite-so-big reno be? Is there something you’ve always wanted to try but just haven’t gotten to it?
RELATED: